Taxi Syntax is added to a finished HTML build to make a Taxi Email Design System. When this is loaded into Taxi, it allows editors and marketers to change content using the content editor.
To understand Taxi Syntax we first need to understand the editor interface. The editable fields appear on the right hand side of the editor screen, next to the live preview:
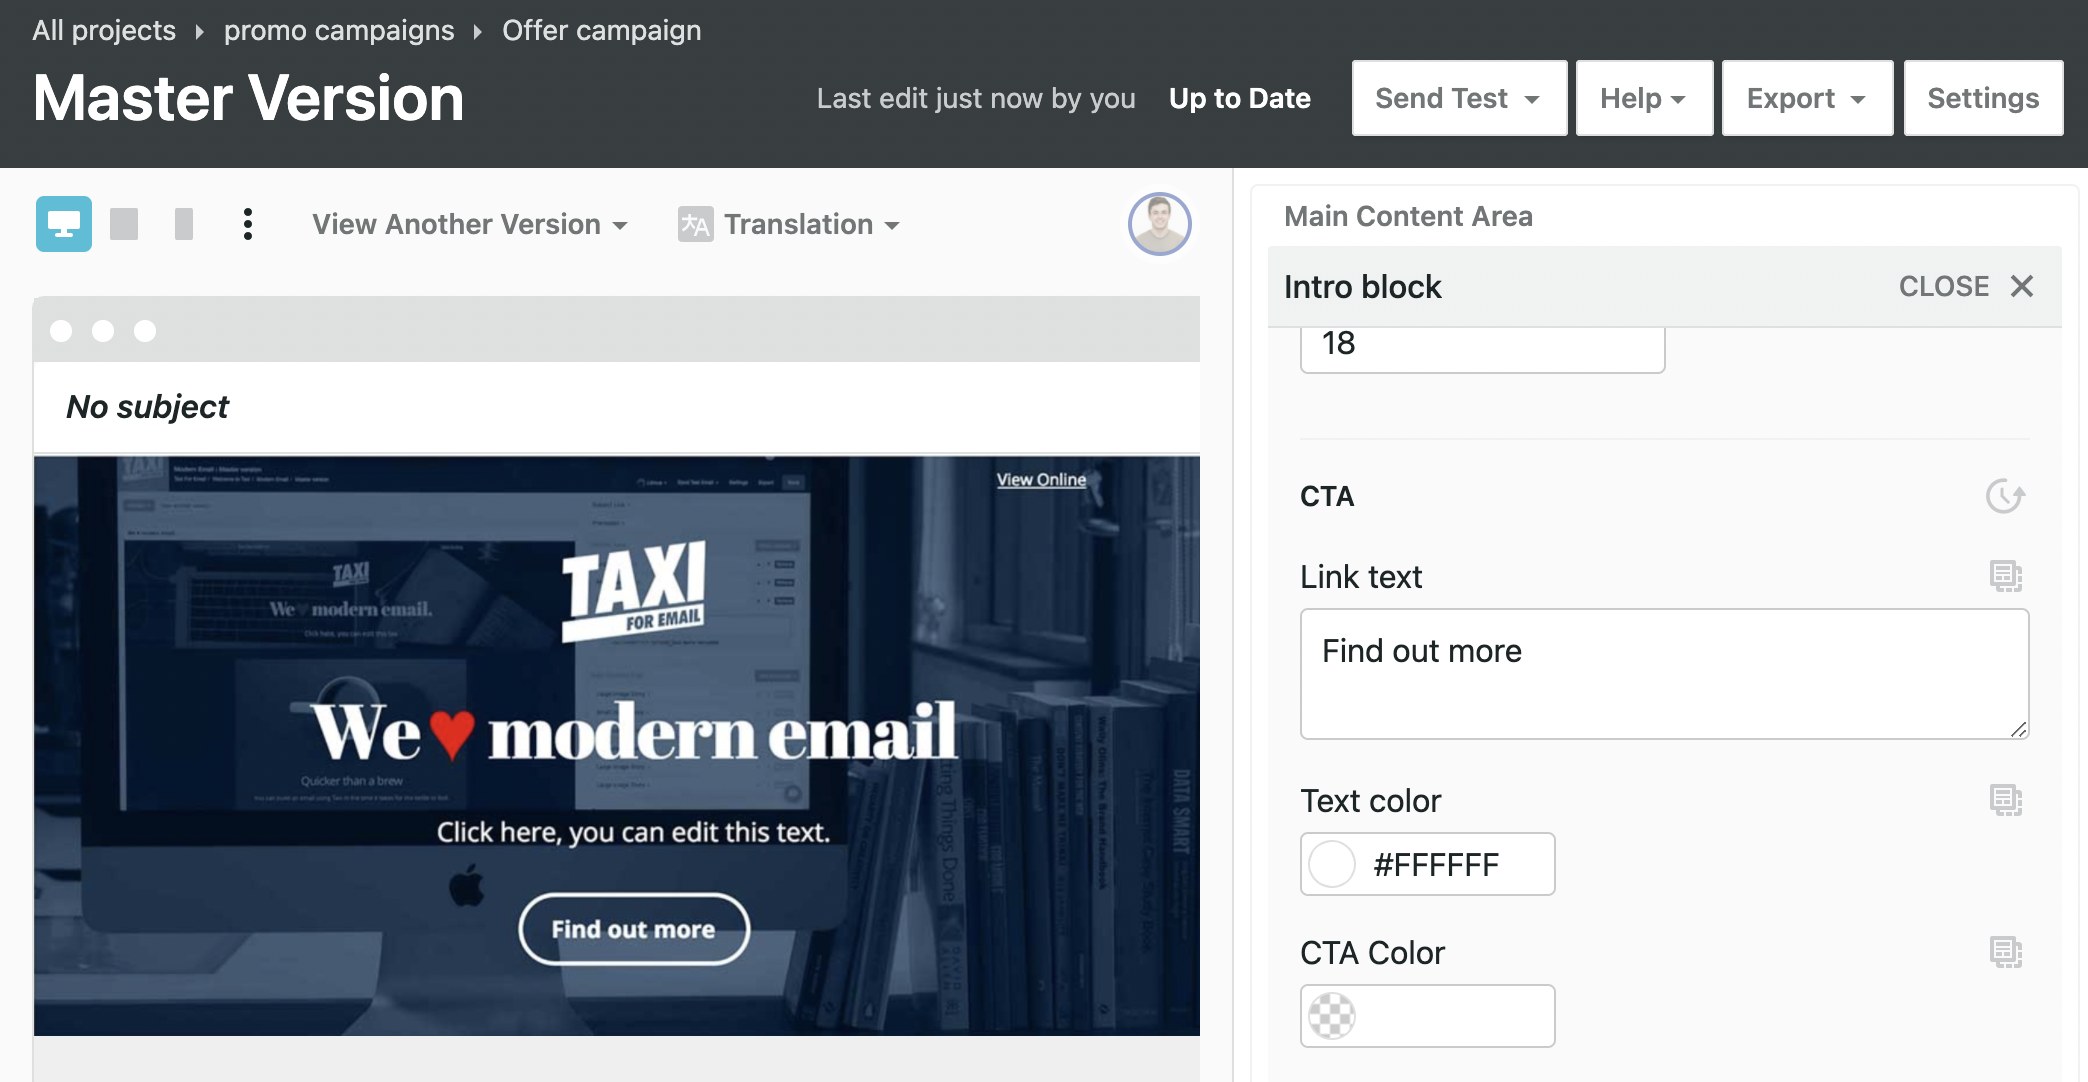
The editor interface is divided into Modules which are subdivided into editables, and editables are divided into fields.
Modules organise related content together to make it easier for the user editing the content. Modules can contain as many or as few editables as you like.
An editable groups together fields which relate to a single visual element of the email, an image, a CTA button, a headline, etc. All of the editables in an Email Design System must be grouped into modules.
All modules and editables must be given a name. This is to help Taxi map content back to the right place when HTML is updated after content has been entered.
To make part of your Design System editable you can get started by adding two HTML tags to your code:
<module name="module1">
 <span style="color:red;">
  <editable name="headline">
   this is the headline text
  </editable>
 </span>
</module>
We'll look at naming structure a bit later, but adding a label attribute helps a lot. We recommend using it on all modules and editables.
<module name="module1" label="Module with a headline">
 <span style="color:red;">
  <editable name="headline" label="Headline">
   this is the headline text
  </editable>
 </span>
</module>
Wrap an <editable> tag around the content you wish to make editable. The editable tag should be around the content but should not include any formatting. Taxi recognises standard HTML tags and adds fields in the editor as necessary | you can wrap editable tags around text, links or images (or linked images if you're fancy).
If you wrap an editable tag around text, that text becomes editable:
<td style="font-size:18px; font-family:Helvetica, Arial, sans-serif; color:#111111">
 <editable name="headline" label="Main headline">
  Headline text
 </editable>
</td>
Taxi will provide a text area for the editor to update the content.
A link is made editable by wrapping an <editable> tag around an <a> tag.
<editable name="cta" label="CTA Button">
 <a href="http://www.taxiforemail.com">Find out more</a>
</editable>
Taxi will provide fields for the href and link text.
An image is made editable by wrapping <editable> around an <img> tag.
<editable name="heroimage" label="Hero Image">
 <img src="http://placekitten.com/200/300" height="200" width="300" alt="kittens!" style="display:block">
</editable>
Taxi will provide fields for the image source, height, width and alt text. The editor will be able to upload images, or provide a url for the image location (image uploads may not be turned on for your organisation, but this doesn't affect how we code the Design System).
If you wrap an editable tag around an <a> tag that contains (only) an <img>, then Taxi will provide both the link and image fields, plus a button to remove the link if required.
If you wrap an editable tag around code that Taxi doesn't understand, or multiples of the above (eg. Text and an image) then Taxi will make all of that code editable in a paragraph field.
<editable name="headline" label="Main Headline" hint="Please ensure you use sentence case only"></editable>
name=
required
Every editable tag must have a name= attribute. This helps Taxi when saving and retrieving content, and maps the content in the Taxi database to a space in the Design System.
label=
optional, recommended
We recommend also including a label= attribute. This provides a user friendly name for the editable tag, that is shown in the editor.
hint=
optional
If you need, you can add additional help text for editors and marketers using the hint= attribute.
All editable tags must be contained within a module tag. Module tags are used to group together editables in a way that makes sense for an editor, for example all of the navigation elements, or a block with an image, a headline and a CTA button.
That's it | you're ready to get started building a Design System. If you head to the Email Design System section of your Taxi account, you can download some existing HTML and see this code in action, or you can add Taxi Syntax to your own HTML build and upload it into Taxi.